Renovation work on the stairwell kicked off this week, and I think it’s safe to say we’ve officially reached the point of no return. The old entranceway floor is gone, the stair railing is down, and the stairs are pretty thoroughly torn up. But I’m getting ahead of myself. Here’s where we started a week ago:
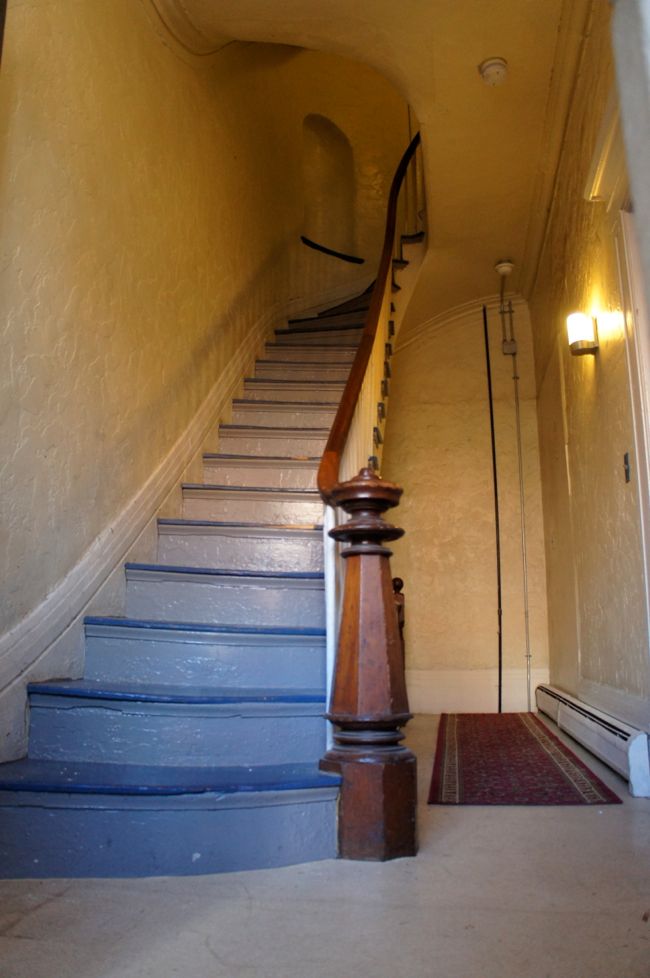
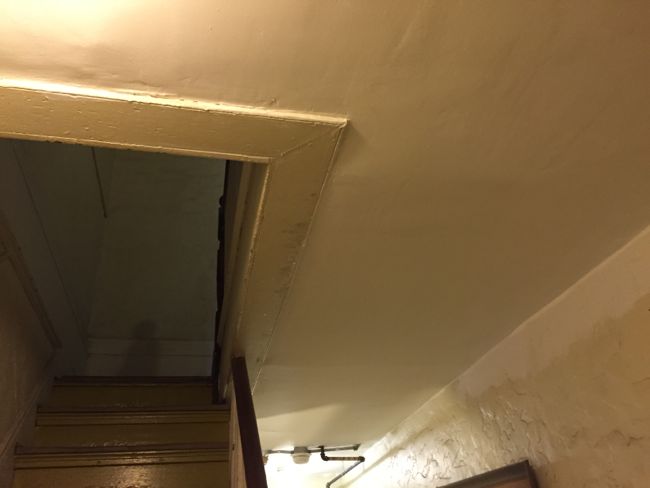
The stairs were intact and I’d just finished repairing the ceiling on the ground floor of the stairwell. I’ve been working on this ceiling off and on for what seems like forever – adding more joint compound here and there, sanding, trying to get a smooth finish – but I finally decided that it was good enough. To recap, last winter a portion of the original plaster ceiling had cracked and buckled and seemed ready to collapse at any moment. It looked like this:

So I removed the plaster, replaced it with a piece of sheetrock, and stabilized the surrounding plaster with screws and plaster buttons. Then I taped and skim coated over all of the seams and cracks and plaster buttons with joint compound.
Since I was patching over small areas of the ceiling and wasn’t skim coating the whole thing, it didn’t look perfectly smooth when I was done with it. But it definitely looked better than it did when I started, which seemed good enough. Besides, this ceiling has been patched and repaired so many times that it’s now a sort of franken-ceiling made up of bits and pieces of original plaster, sheetrock, joint compound, caulk, layer upon layer of paint, and some wood thrown in for good measure. So at some point I decided to stop messing with it and just primed and painted the whole thing with flat white ceiling paint, which helps disguise some of the imperfections.
This past weekend I moved upstairs to the entranceway and began pulling up the old vinyl floor. The vinyl sheet flooring was laid over a 1/4-inch plywood underlayment. I assumed that this plywood was nailed on top of the original wide-plank pine floors, but there really wasn’t any way to know what lay beneath the plywood until I started tearing it up. Starting along the edge of the hallway by the stairs, I pried up a corner of the plywood underlayment. I peeked underneath and, in the moment of truth, caught a glimpse of intact, pine floorboards.

Encouraged by the sight of the original floors, I worked my way down the hallway using a combination of a pry bar, a rubber mallet, a claw hammer, and brute strength to pull up the plywood underlayment and the vinyl sheeting along with it. Five hours later I was left with a sore back and an unfinished – some might call it rustic, others might call it filthy – pine floor. Admittedly, the floor looks pretty terrible at this point, and I would be nervous if I hadn’t done this before. Even though the floor currently looks like it belongs in a barn, I know it will turn out beautifully once it’s refinished.
At the beginning of the week, our contractor, Gregg, started taking apart the stairs in preparation for replacing the treads and risers. As he gradually dismantled first the handrail and balusters and then the old treads and risers, he uncovered the guts of the stairs and was able to see how they were constructed. Luckily, everything seemed to be structurally sound.
My guess would be that the entire staircase was ordered as a kit when the house was built. In the mid-1800s when our building was constructed, mass production of house parts had just begun to make fancier architectural elements – like, for instance, a curved staircase – more readily available. Even so, a lot of the stair parts seem to be of higher quality than anything you could buy today. Gregg was surprised to find that the bullnose trim along the edges of the treads, some of which is curved, was carved from single pieces of wood. Unfortunately, most of this trim was too cracked and brittle to salvage. Here’s a few pieces of trim after they were removed.
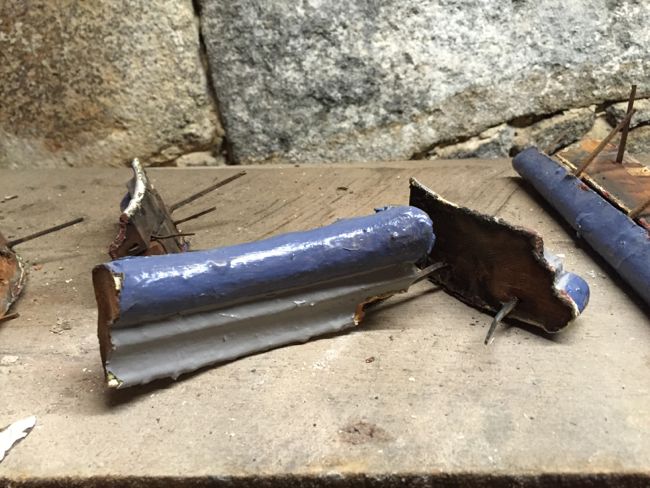
Gregg is planning to replicate this trim as closely as possible, but he’ll probably use two pieces of trim to achieve the same look.
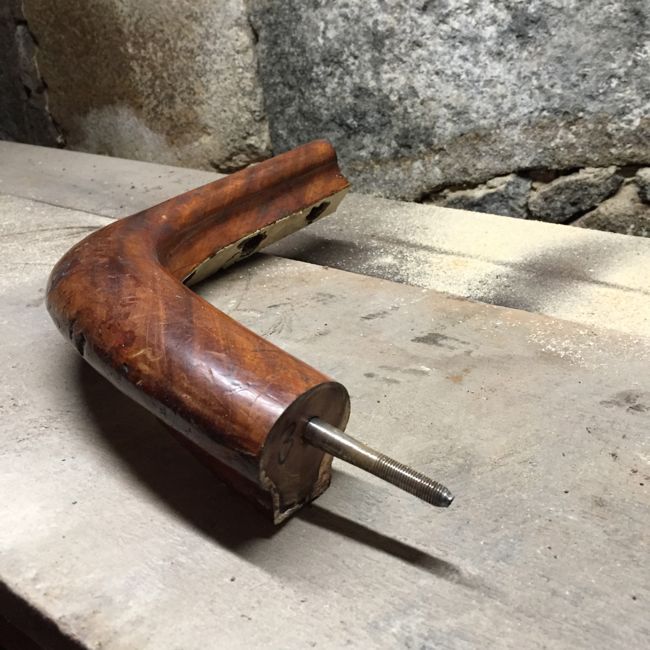
The curved handrail that winds its way up two flights was milled from solid wood in several sections. Each section attaches to the next with a threaded pin imbedded in the center of the handrail. I’m debating whether I should try to refinish the handrail while it’s disassembled.
The newel post was also secured by a long, threaded pin that ran from the top of the post all the way to the floor.
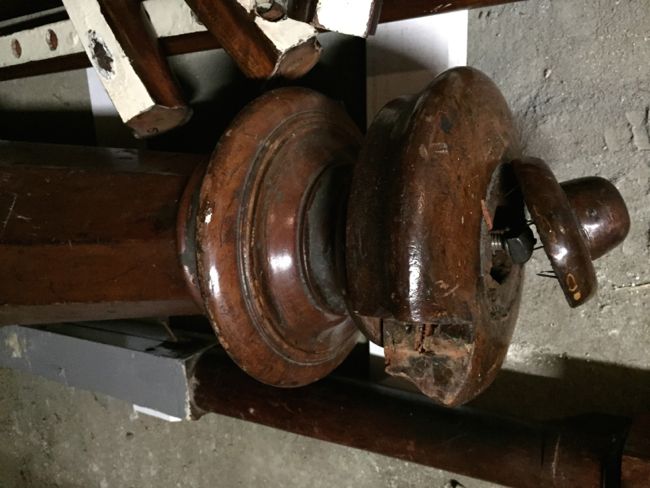

The interior of the newel post seems like a great hiding spot. But, unfortunately, we didn’t find any jewels or treasure maps, or important documents hidden inside.
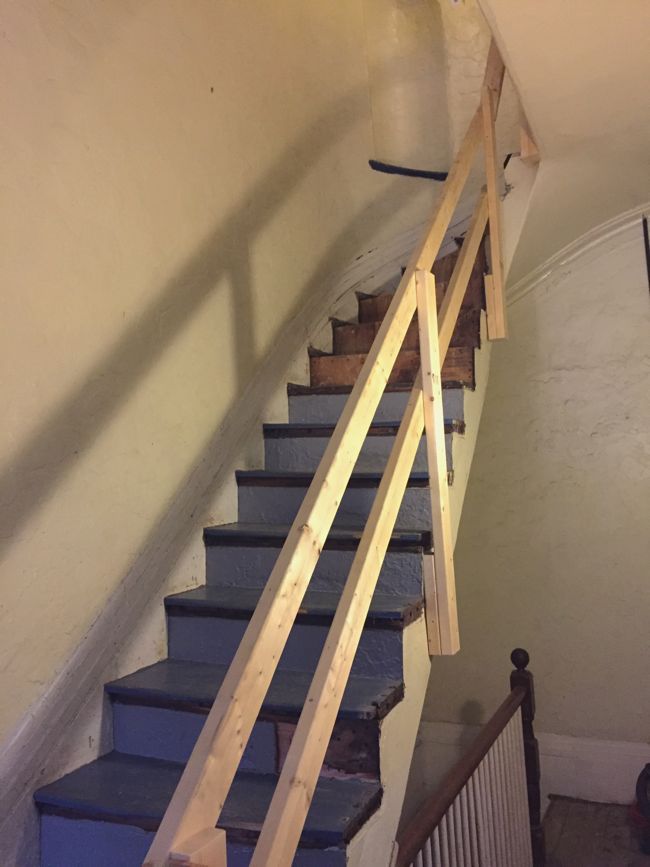
Gregg carefully took the handrail and newel post apart and will reinstall them once the new treads and balusters are in place. In the meantime, he put up a temporary handrail made from 2x4s.
The original balusters were round and unadorned. Some of them had been replaced with mismatched dowels over the years. As Gregg pulled down the balusters, he discovered that several of them were solid, iron rods. These metal balusters had an upside-down-V-shaped bracket at their base, which was bolted to the stairs and hidden under a riser.
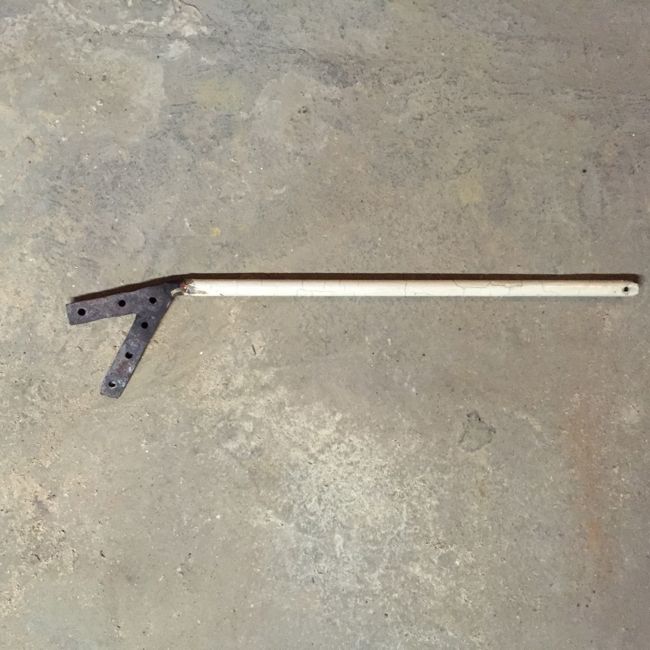
The iron balusters were evenly spaced along the length of the staircase and must have provided a way to keep the railing secure and rigid.
The stairs themselves were built over ‘sub stairs,’ for lack of a better term. As far as I know, the treads and risers on most modern stairs are laid directly across the stringers with nothing underneath. But beneath the finished treads and risers on our stairs there’s another set of solid wood surfaces that provide structure.
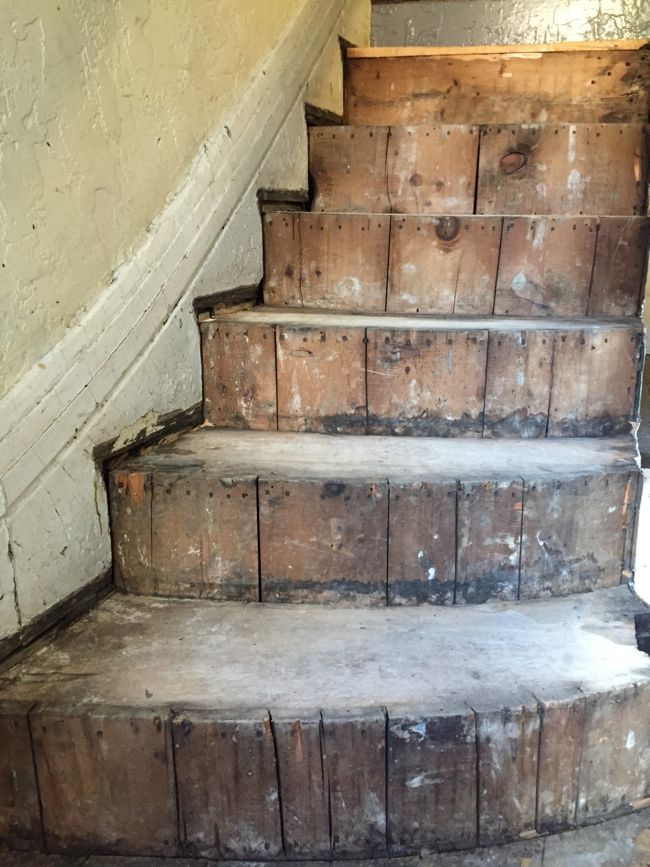
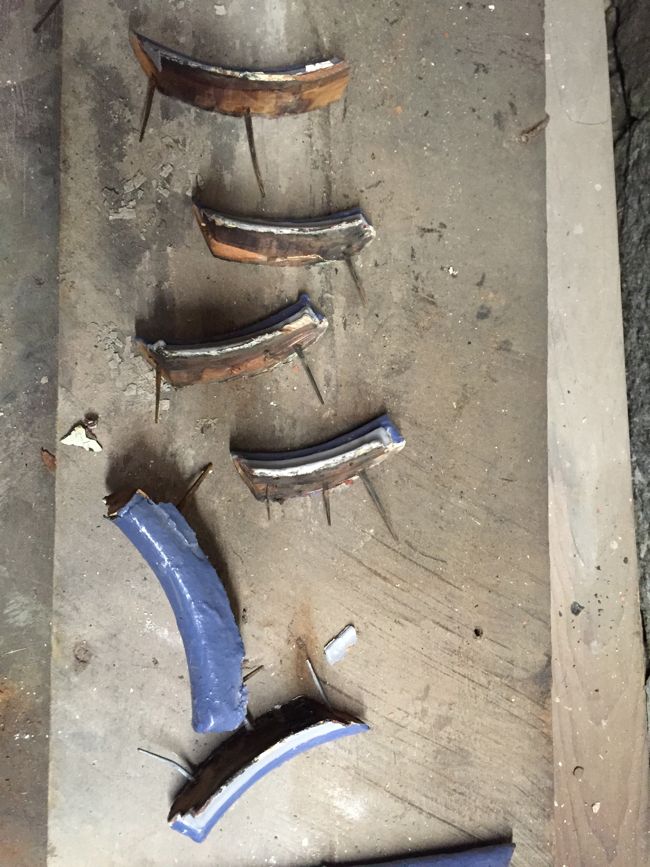
The underlying structure of the risers was made from a series of vertical boards, sort of like a barrel, which allowed some of the steps to have a curved riser. Gregg found that all of the curved woodwork on the stairs was made by cutting a series of parallel notches into the back of a thin piece of wood to make it flexible and then bending the wood into place and securing it, a process that required some serious carpentry skill, especially considering that this curved woodwork has held up for 150 years without beginning to look angular. Here’s the back of one of the curved risers:

In the 1800s, East Boston was home to a booming shipbuilding industry, and it’s possible that some of the workers who built our building also worked as shipbuilders, which might explain their experience working with curved wood.
All of the new treads and risers are awaiting installation in the cellar, and next week, Gregg will start putting the stairs back together.
Have you seen this?
http://acountryfarmhouse.blogspot.com/2015/05/the-stair-railing.html
Wow that’s a very cool restoration. It makes me really glad that the original handrail and newel post on our stairs are intact!
What a great archeological dig of a project! The railing is so cool … how in the world did they figure out how to carve those curves and drops?
Yeah, I would have no idea how to go about designing a railing like that, especially without the aid of a computer. I think it involves tangents? Check out the link that Ann shared above to see how some present-day restoration carpenters go about milling a similar curved railing from scratch.
So fascinating’ Thank you for sharing these details, I love it!
This is exciting to read and to look at, but I guess it’s not as exciting to walk on! 😀 (Or rather, exciting in all the wrong ways!)
Make the inside of the newel post YOUR hiding spot with a small time capsule or something similar. Love what you’re dong to this beautiful gray lady of a condo.
That’s actually a great idea! I’ll have to think about what to stash in there…
I love that you are getting the common area renovated. Are the other owners excited? I’m glad you are going to be able to salvage that fantastic newel post and handrail.
Looking forward to you and Gregg working your magic again!
Yeah, everyone here is excited to give the stairwell a second lease on life! I think all of us finally got fed up with how dirty and dingy and run-down the common area was. And I think my upstairs neighbors are particularly excited to have the stairs redone since the second flight of stairs leading up to their unit is so worn and crooked that it’s pretty treacherous.
How did you end up dealing with the rough pine floorboard you mentioned, in the entranceway?