In just under two months it will have been one year since we began renovating the stairwell, and I’ve decided that this renovation anniversary will be the unofficial deadline for finishing all major work in the stairwell. The end is in sight, and I’m hoping that setting an arbitrary deadline will help motivate me to plow through the remaining work rather than dragging things out for months and months. The problem is that the stairwell is separated from my main living space, so I haven’t viewed this renovation with the same sense of urgency that I’ve felt when renovating the interior of my condo. I only spend a few minutes in the stairwell each day, walking to and from the front door, and it’s been all too easy to live with the stairwell in a semi-finished state. Even though my neighbors and I have more or less ignored the stairwell as we’ve come and gone from our condos over the past year, I know that restoring the building’s entryway to its former grandeur will make coming home and walking through the front door immensely more enjoyable. So I’ve given myself just under two months to finish skim coating, sanding, priming, and painting just about every surface in the stairwell.
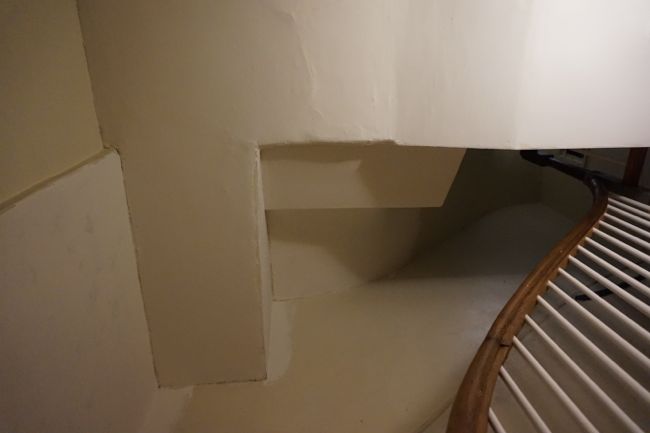
For the past few weeks I’ve been slogging through all of the prep work that needs to happen before painting can begin. It’s a hodgepodge of unsatisfying work that hasn’t made a noticeable impact on the appearance of the stairwell, which is partly why I’ve been putting off writing this update for so long. A few weeks ago, I thought I was almost finished skim coating the walls and ceilings, but then I reached the ceiling between the second and third floors and things slowed down considerably. This ceiling originally followed the gentle curve of the stairs, but a series of renovations on the third floor have left it looking like an M.C. Escher print. It’s composed of a series of seemingly disjointed bump-outs and sloped sections, all of which add up to a lot of awkward surface area to skim coat.
After working on it off and on for two weeks, I managed to cover this section of ceiling in two smooth coats of joint compound. Some fairly serious cracks had formed in the ceiling over the years, so I covered them in fiberglass mesh tape before skim coating. The corners where the ceiling meets the walls (or in some cases where the ceiling meets another section of ceiling) had never been taped, and were defined by jagged, cracked plaster. I used paper drywall tape to make the corners look clean and sharp.
Only a few small sections of the old textured plaster remain on the walls and ceiling between the second and third floors, but a few weeks ago, I became so bored with skim coating that I decided to move on to painting the trim on the first flight of stairs. I’ll eventually finish skim coating, but freshly painted trim will make a huge difference in the appearance of the stairwell, and it’ll be nice to mark my progress with a visible improvement.
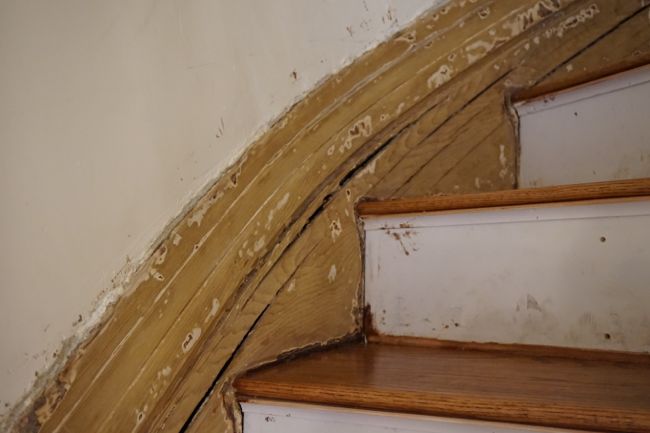
But before I could start painting, I needed to patch, caulk, and prime the trim. You might remember that I uncovered some large cracks in the curved section of the baseboard after removing dozens of layers of old paint.
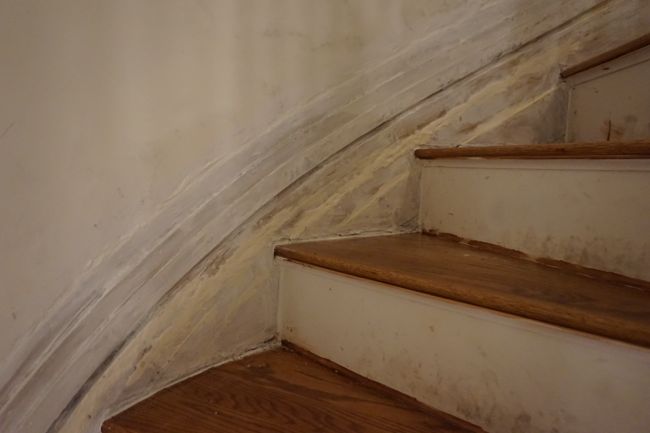
I used WoodEpox, an epoxy-based wood filler to fill these cracks. WoodEpox isn’t the cheapest wood filler out there, but I decided to use it here since I was filling fairly large cracks, and it’s supposedly one of the most durable wood fillers available. It’s a two-part epoxy, and it’s straightforward to use. While wearing gloves, I grabbed a handful of each component and mashed them together until the mixture reached a uniform, dough-like consistency. Then I pressed the filler into the cracks and smoothed it out. 24 hours later, the filler had dried, and I sanded it until it was flush with the surrounding baseboard.
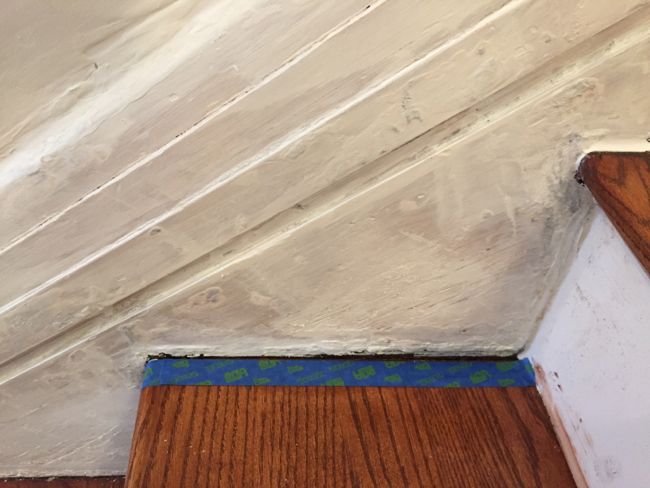
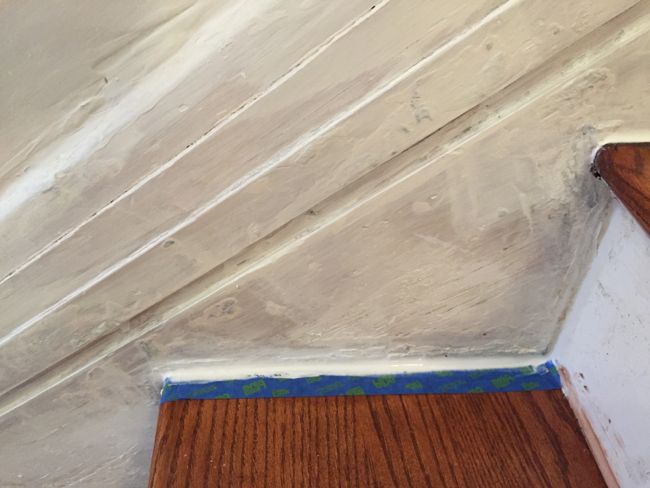
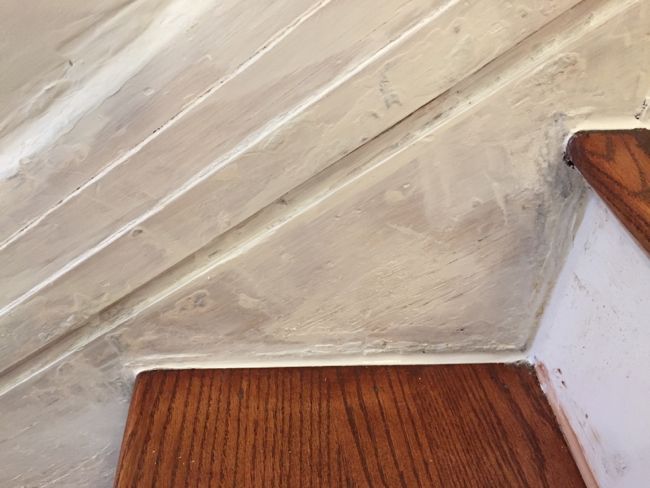
Next, I caulked around the baseboard, the risers, and the edges of the stair treads. Since the treads are stained and sealed, I used blue painters’ tape to get a sharp caulk line. Putting a strip of painters’ tape along the edge of the tread before applying caulk, and then removing the tape before the caulk dries, prevents caulk from getting smeared all over the new tread. The process looked like this:
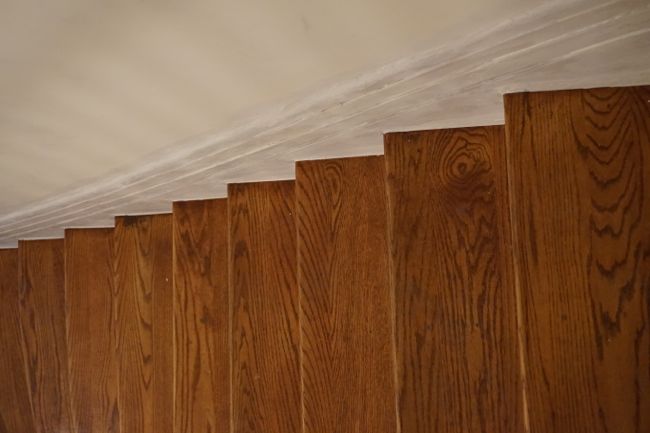
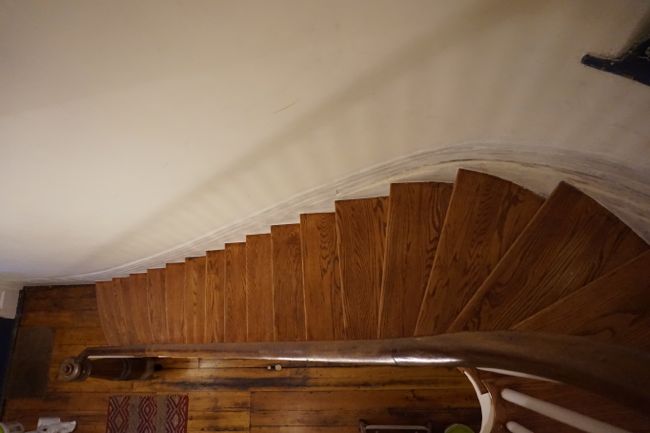
Here’s the first flight of stairs with all of the trim caulked – check out the sharp lines between the treads and the baseboard.
All of the trim on the first flight of stairs – the baseboard, the risers, and the balusters – are now ready for paint. Next time I’ll actually finishing painting the trim, and a small section of the stairwell will actually be finished.

Hang in there–you’re getting close to the finish!. All the little detail work is wearying. I feel your pain. Repairing my damaged plaster walls has not turned out to be my favorite pastime, and I’m afraid avoidance does not get the job done. I should set a deadline for myself, too.
Repairing plaster walls can get tedious really fast. I’ve developed more of a tolerance for it over the past few years, but even so I reached my limit in the stairwell about a week ago. I’m hoping I’ll be more productive when I return to skim coating after spending a few weeks working on other things. Good luck finishing your living room walls!
I understand the slogging. The first flight f stairs already looks great with caulking and primer, it is sure to look fabulous when finished! You deserve a little plaque of recognition of your restoration when all is finished.
Thanks, I’m excited to see how it turns out, which is actually my main motivation for getting it done at this point!
Your project is looking fantastic. I’m sure the other residents must appreciate it, but I hope they at least take you out for dinner! We always call this stage the “dog work.” Slogging is definitely the operative word. Keep persevering! What a welcoming entry it will be indeed.
I’ve never heard it called dog work before, but that somehow seems like the perfect term for it.
It’s looking great so far! I love following along with what you’re doing, and you’re helping to motivate me to finish my year long projects…
It’s surprisingly easy for a year to go by without even realizing it while slowly working on a project. Good luck!
Looks great! I assume you are not getting paid for your time, but does the HOA pay for supplies? I hope they appreciate the value you are putting into the building’s shared spaces!
I haven’t asked to be paid for my time since I enjoy working on projects like this and I’d like to finish it without wiping out our condo association funds (which, after all, with only four owners, are about 25% mine). But yes, the cost of supplies and materials is coming out of our association funds.