The stairwell walls, I think, are the single worst feature of my building’s common space. It took me a while to reach this conclusion. The first time I walked through the front door and into the stairwell, I noticed that the space looked kind of dumpy, but I didn’t really take note of the walls. It wasn’t until after I’d lived here for a while, walking up and down the stairs, day in and day out, that I began to notice just how depressing the walls are.
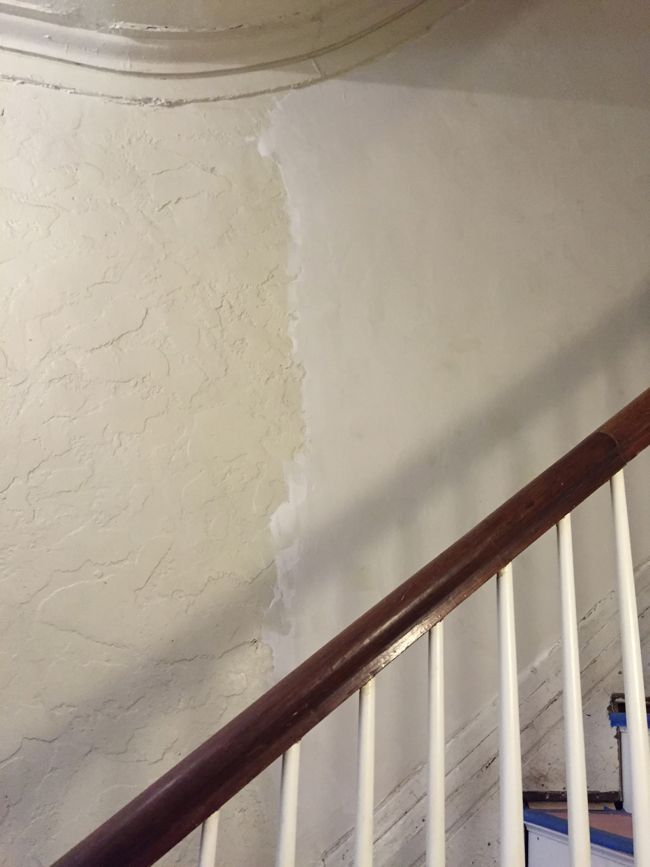
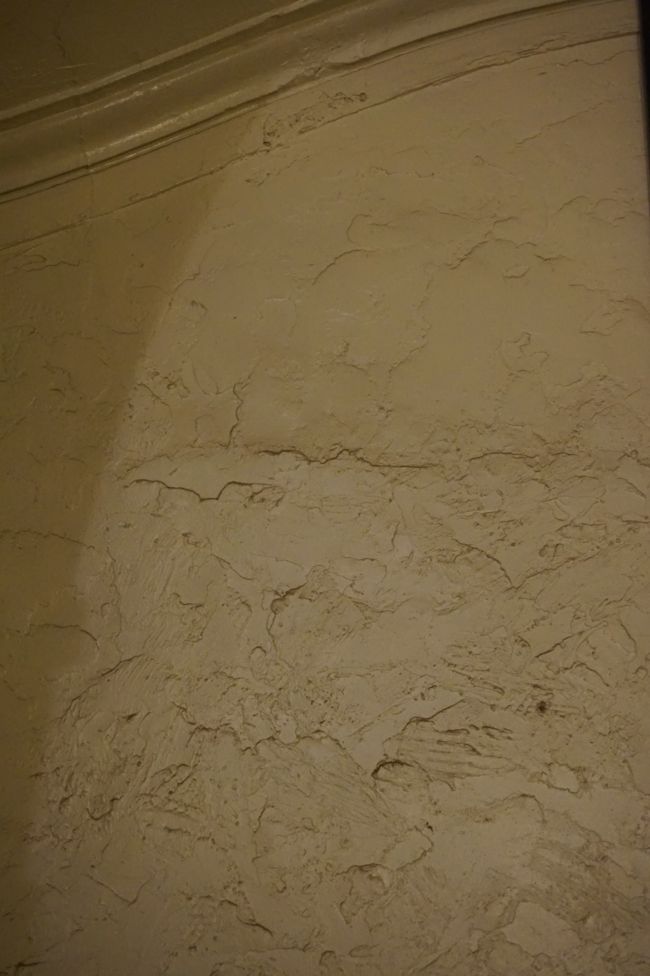
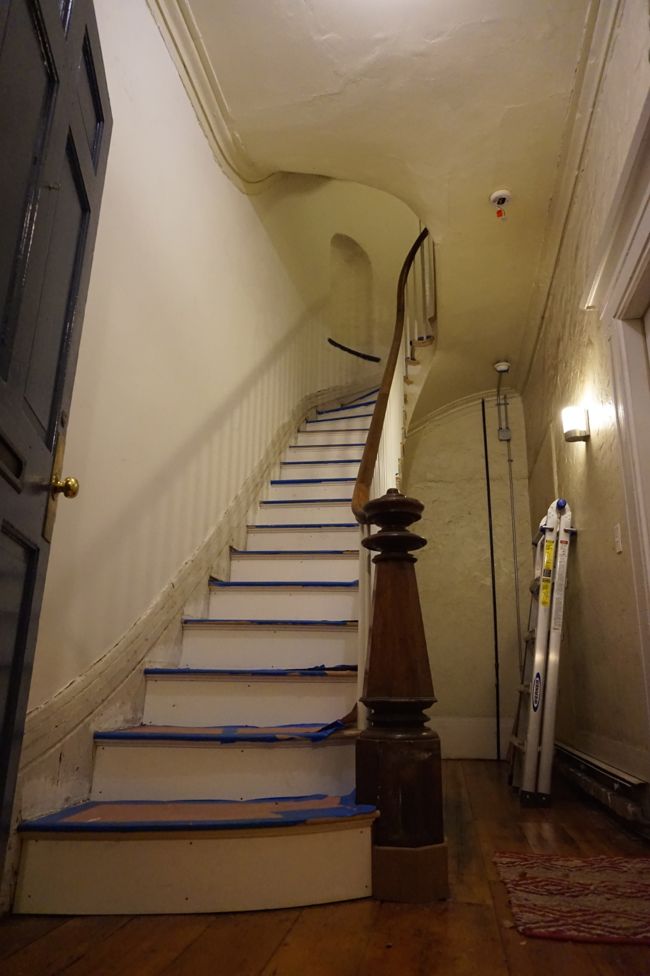
They’re coated in a thick layer of lumpy, textured plaster that resembles the interior of a mineshaft crudely hacked through solid bedrock (the narrow space and lack of natural light only add to the effect). Whether this plaster treatment was applied as a conscious aesthetic choice, or as a short-cut to avoid the work of smoothing out a new coat of plaster, I’ll never know. All of the lumps and ridges along the walls create little shelves, some as deep as a quarter-inch, where dust collects, darkening the horizontal surfaces and further highlighting the wall’s random chunkiness. Even after cleaning the walls, they never really look clean. And as a backdrop to the stairwell’s architecture – the graceful, curved banister, the stately newel post, the high ceilings and plaster crown molding – the textured walls look completely out of place.
Clearly something needed to be done. And that something, I eventually realized, would involve skim coating all of the stairwell walls. For those of you who aren’t familiar with the ins and outs of plaster repair, skim coating is the process of applying a thin finish coat of plaster (or in my case, joint compound) to a wall or ceiling. Fixing cracked and damaged plaster and skim coating over the repair seems to be a never-ending endeavor in a lot of old houses – as soon as you’ve patched a section of plaster, you notice another little crack somewhere else, and you have to go through the whole process all over again.
Needless to say, I’ve done my fair share of skim coating since buying the condo. My first experience with the technique came after I repaired the falling-down plaster walls in the bedroom. I didn’t really know what I was doing, and it took me months to finish the walls. Since then, I’ve also skim coated sections of the dining room walls, including the entire fireplace surround, and, more recently, I repaired and skim coated the ceiling in the common laundry area on the ground floor. With each new project, I’ve become a little more confident, and a little faster.
Even so, I’ve been dreading skim coating the stairwell walls. It’s such a huge area that it seemed like an insurmountable task. To try to speed things up, I bought the biggest drywall taping knife I could find (14 inches), which I hoped would allow me to cover more area with each swipe of the knife.
The one redeeming quality of the stairwell walls is that they’re really solid and don’t have any cracks, which meant I didn’t have to do any repair or prep work, aside from cleaning the walls, before jumping into skim coating. So last weekend, I downloaded a bunch of podcasts on my phone, lugged a bucket of joint compound upstairs from the cellar, and got down to business.
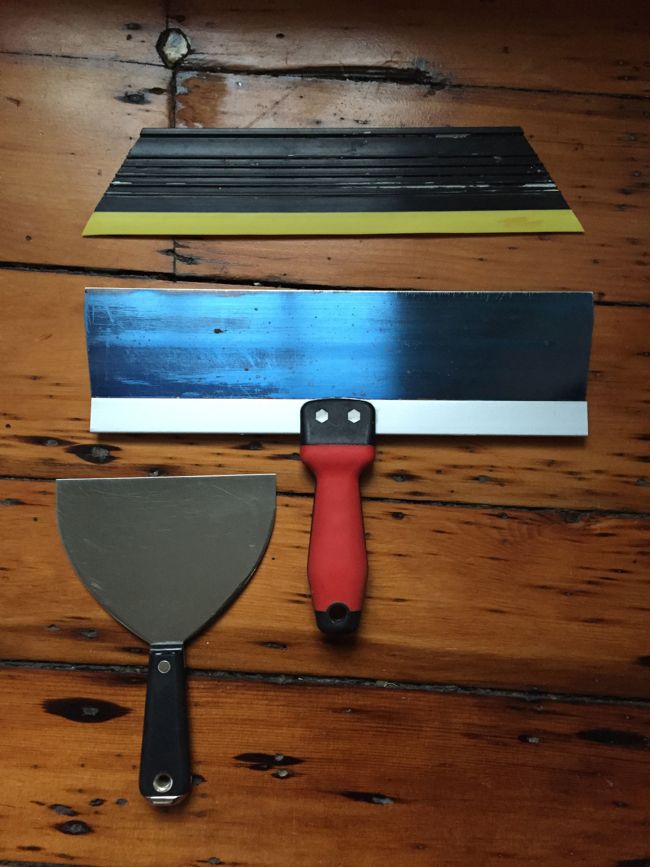
Skim coating is one of those DIY projects that sounds more intimidating than it actually is. It takes some practice to really get the hang of it, but it’s also very forgiving – if you mess up, you can always fix your mistake by sanding or adding another coat once the joint compound is dry. Here are the tools I use to skim coat:
A large drywall taping knife, a small drywall taping knife (used to load the larger knife with joint compound), and a squeegee “Magic” trowel. There are different tools and techniques that can be used for skim coating, but here’s what’s worked for me: once I load up the large drywall knife with joint compound, I smear it across the wall, and then make a second pass with the drywall knife, holding it at a steeper angle to smooth out and evenly distribute the joint compound. Once I’ve covered a section of wall with joint compound, I use the squeegee trowel to smooth it out before the joint compound starts to dry.
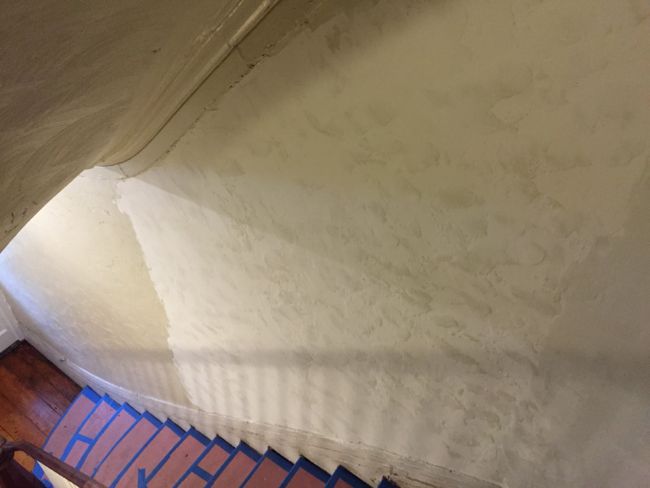
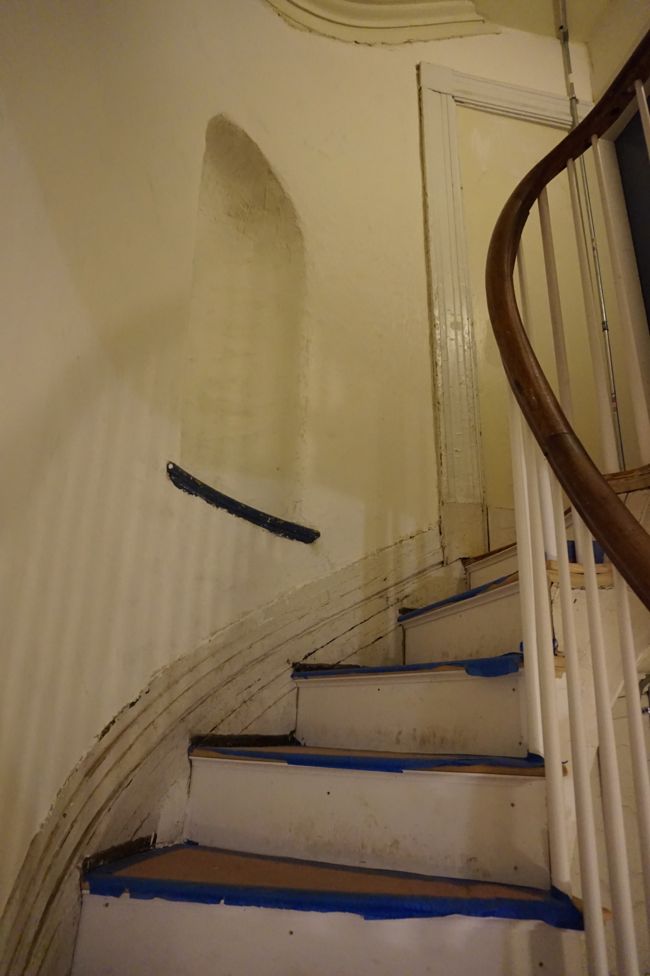
I was surprised at how quickly this work went. I covered the stairwell’s largest wall with the first coat of joint compound over the course of a few hours spread over two days. Here’s the wall partway through the first coat.
After the first coat, the wall still looked pretty lumpy, so I went back over with a second coat the following weekend. After a second coat, the lumpiness had pretty much disappeared, and the entire stairwell has started to look better. Even the color of the raw joint compound is an improvement over the old, dirty-looking paint.
With this wall done, I’ve probably covered about half of the total wall surface area in the stairwell. So I’m cautiously optimistic that I’ll be able to finish all of the skim coating work, including the ceilings, within a few weeks.
One wall down, two to go.

Dear Dan,
Thank you oh-so-much for sharing. Mine is not nearly as a troubling reno but I guess that all depends on how long we plan to stay at one place. Still, it’s been (and still is) a pleasure reading you, and I’m glad AT gave us the chance to read you some more.
Go ahead on those staircases knowing there’s people all the way far cheering for it! As soon as my kitchen reno in Brazil is done I’ll share it. Till then, we thank you for such lovely writing and cheer for your reno end – even though it is a fairly common thought no one ever ends a reno, we just eventualy give up on it!
Kisses (in Brazil we kiss and hug, it’s a regular and respectable thing!)
Liana
Thanks Liana! Good luck with your kitchen reno!
Looks so much brighter already!
It’s amazing what a difference clean, smooth walls make!
If there is one skill I have loved to learn it is troweling on drywall or plaster in my home. I’ve fixed wall and ceilings, most recently in my garage where someone long ago plastered the walls all the way to the concrete floor. . .
It’s very zen-like once the rythym is established.
I’m glad you enjoy doing it and glad it’s looking so fresh.
There is a certain meditative quality to skim coating, once you get the hang of it. And it doesn’t hurt that it makes a huge visual impact in a relatively short amount of time.
Huge difference just with the first coat! It will be beautiful, I’m sure.
Thanks, it’s getting there!
Well that looks beautiful!
Welcome to Milton High School