The interior side of my building’s front door is surrounded by a lot of woodwork – side lights, inset paneling, a large transom window. This vertical expanse of wood stretches nearly ten feet tall, looming over the foot of the staircase. And every last bit of it is painted fire engine red.
I’m sure you have a lot of questions right now, like why would anyone paint this section of trim red while leaving all of the trim in the rest of the building white? And why would red trim exist anywhere outside of a 1990s-era McDonalds, let alone in a Greek-Revival row house? Trust me, I’ve asked myself these and other similar questions many times over the past three years, and unfortunately, I don’t think we’ll ever learn the answers.
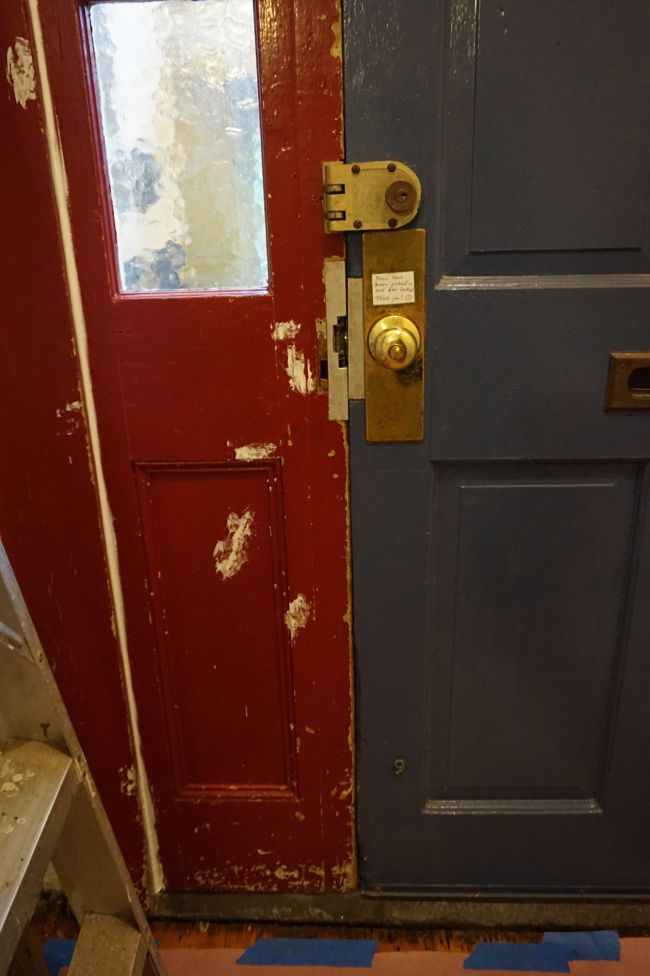
But here’s what we do know. Judging by the number of chips and gouges and scuff marks in the red paint, this trim has been red for quite some time, maybe decades. And, if you look closely at the areas where the red paint has chipped away, you can see that before it was red, the trim was painted teal. Maybe the red was an improvement after all?
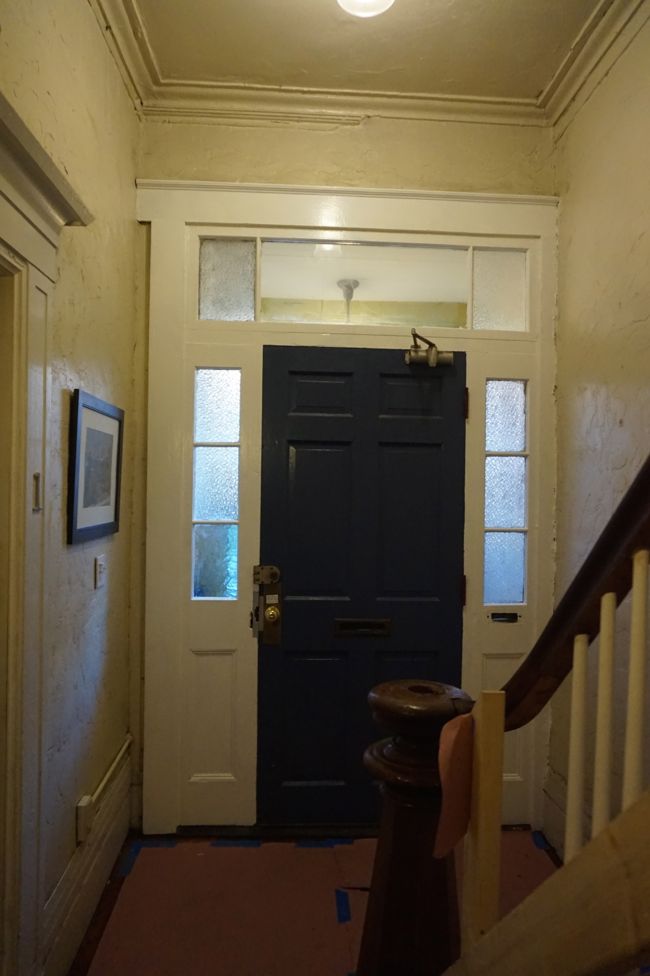
If you look at this woodwork for long enough, you’ll also realize that none of it is original to the building. In fact, it looks like the side lights, the transom, and the surrounding trim were pieced together somewhat haphazardly. The whole thing is actually asymmetrical with everything smooshed over toward the right. There’s even a gap along the left corner where you can see part of the original trim underneath the newer trim. But as long as you don’t look at it too closely, it looks fine, so we’re not planning to replace the side lights and transom any time soon.
But after seeing this red trim day in and day out for the past three years, I’d finally had enough this past weekend. So I broke out the primer. Before I got started, I cleaned the trim with a sponge and soapy water since everything in the stairwell is still pretty dusty from sanding and refinishing the floors a few weeks ago. Then I patched all of the chips and gouges with Ready Patch spackle, and caulked some of the biggest gaps. Incidentally, while I was cleaning the trim, I noticed that most of the glass in the side lights isn’t glass at all; it’s textured plastic. Someday it’d be nice to replace the plastic with actual glass, but that’s another project for another time.
After one coat of primer, everything looked streaky and terrible, but also somehow better than when I started. Even with streaks of red showing through the white primer, the whole stairwell had begun to feel brighter, which makes a huge difference in a space that gets almost no natural light. I now realize that I didn’t take any progress photos at this stage because I was so intently focused on painting over every last bit of red before the end of the weekend.
The next day, I added a second coat of primer since I wanted to minimize the number of paint coats I would need (primer is cheaper than paint). After a second coat, the red had all but disappeared, and later that afternoon I added a coat of paint – Benjamin Moore simply white in semi-gloss, which I’m planning to use for all of the trim in the stairwell.
With the red gone, and bright white trim in it’s place, the entire stairwell felt much less depressing. The rest of the trim in the stairwell is currently painted the same dull mayonnaisey white as the walls, so it’s pretty well camouflaged. But there’s so much elegant detail in the trim, from the tall baseboards to the chunky crown molding, that it’s a shame that it’s so easy to overlook. But with the side lights and transom painted, I could begin to visualize what the stairwell would look like with all of the trim painted bright white.
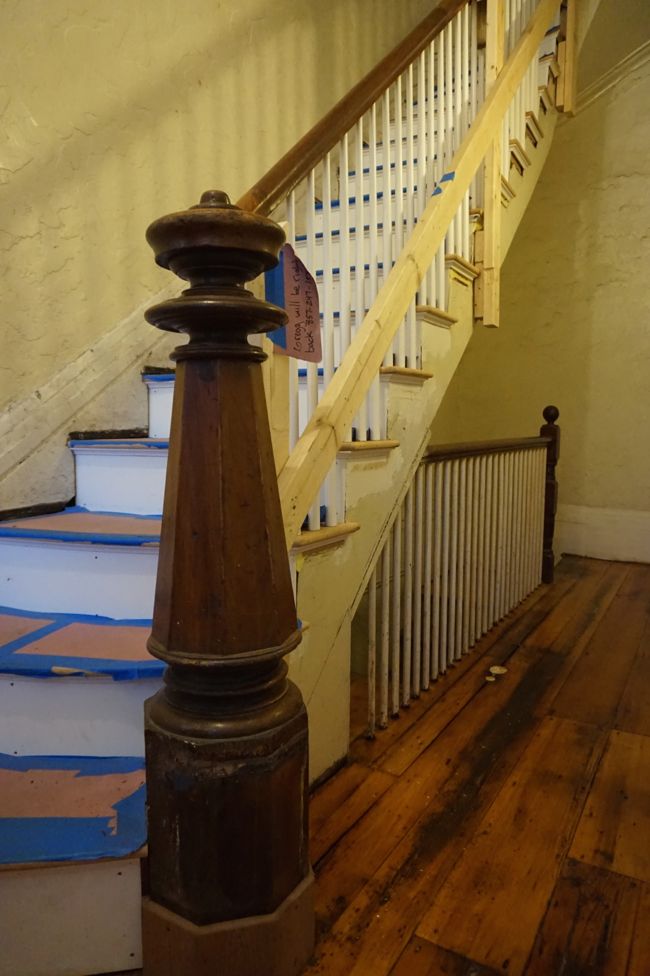
As you can see in this picture, Gregg started installing the balusters this past week. We chose simple, tapered balusters that more or less match the original balusters.
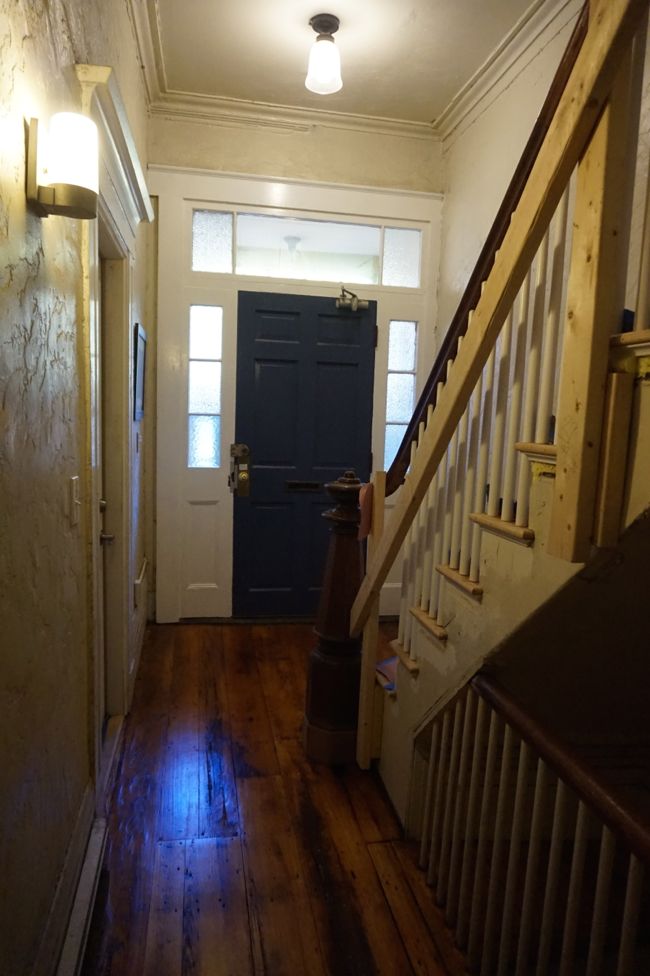
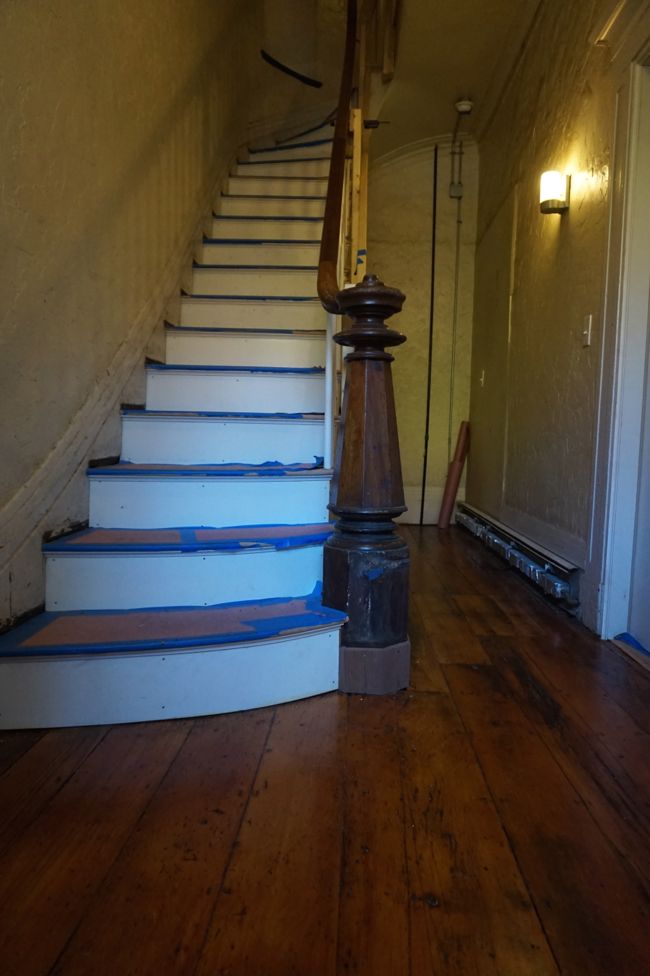
Gregg finished installing balusters most of the way up the first flight of stairs. He’s about to start adding balusters along the curved section of handrail at the top of the stairs, which will be more challenging than the straight section. Here’s the current state of the stairwell – it’s finally starting to come together.

I enjoy seeing your updates very much. Covering that red paint made a monumental difference! We too used Ben Moore Simply White on all the woodwork in our small townhouse, and after five years, we still love it. Your space will be so charming when complete!
White trim is going to make a huge difference! We’ll finally be able to see all of the awesome detail in the woodwork. Glad to hear you’re still happy with your “simply white” trim.
That looks fantastic! I can’t wait to see the final hallway – I’m sure it will be amazing!
Thanks, I can’t wait to see how it turns out either! It’s a major motivation for me to get going on the final skim coating and painting.
Whoa – that off center door trim would make me crazy. Down the road if you ever need to replace the public door there, it might be a good thing to re-work all of that. The new paint color is a VAST improvement. I love the way it’s all coming together.
It’s funny, I never really noticed how off center the entryway was until I painted the trim white. I guess the red paint was so horrible it distracted from the asymmetry. I think I need to paint that little strip of wall in the left corner the same color as the trim so that it looks like the trim stretches across the entire wall. That should make everything look a little less out-of-wack. I’m also wondering if the front door may have originally been positioned slightly off center to better align it with the staircase, so that you don’t walk through the front door and directly into the newel post.