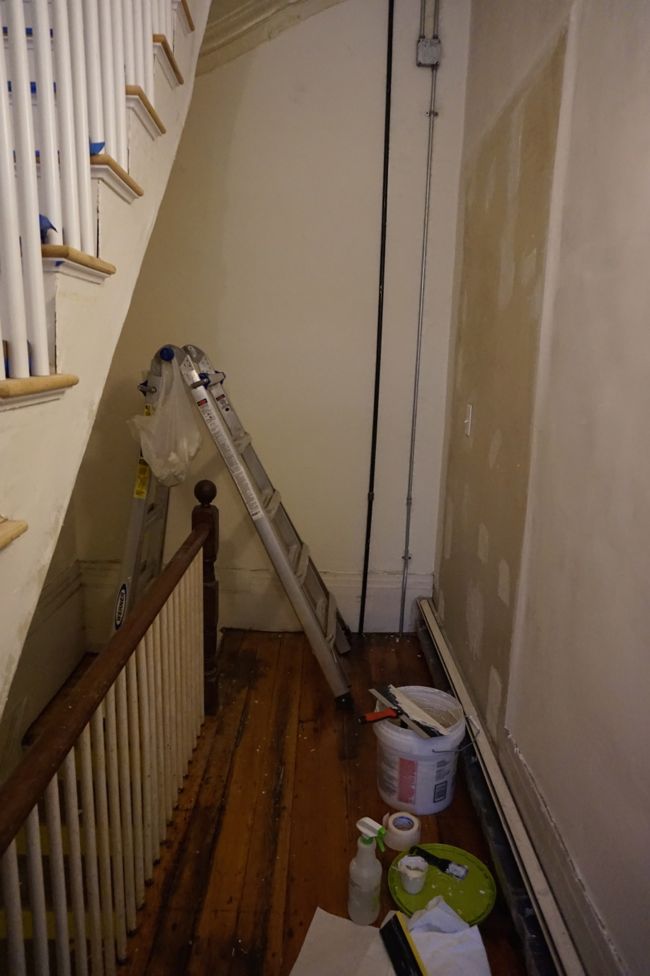
When I set out to skim coat the stairwell walls, it seemed like a massive undertaking. I figured I’d be working at it for the rest of the winter. But now, a mere 4 weeks and 5 buckets of joint compound later, I’ve finished skim coating the walls and have moved on to the ceiling.

I’d like to think that the skim coating went faster than expected because I’ve gotten so much better at it over the course of this project – I can now cover a large area with a fairly smooth coat of joint compound without fussing over it too much. Or maybe things went faster just because I used a larger drywall knife (14″) than I’ve used in the past. Either way, skim coating is tedious, messy work, so I’m glad the finish line is within sight. All that remains on the entryway floor is the ceiling, which, given the narrowness of the stairwell, covers much less surface area than the walls. Of course, the walls downstairs in the laundry area also need to be skim coated. But I’ve decided to take this project one floor at a time.
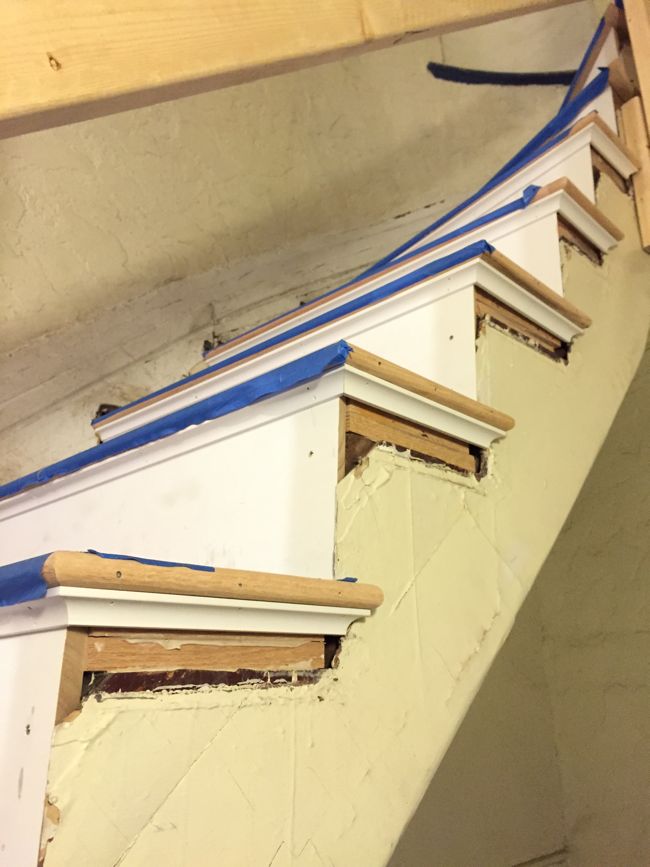
A week or two ago I took a break from skim coating the walls to finish patching the gaps along the sides of the stair treads (I, essentially, took a break from skim coating walls to skim coat the side of the staircase). If you’ve been following along, you might remember that shimming and leveling the new stair treads left some substantial gaps below the edges of the treads.
I used high density spray foam – the same stuff that’s used to insulate windows and doors – to fill these gaps. After spraying foam into each gap, the stairs looked like this:
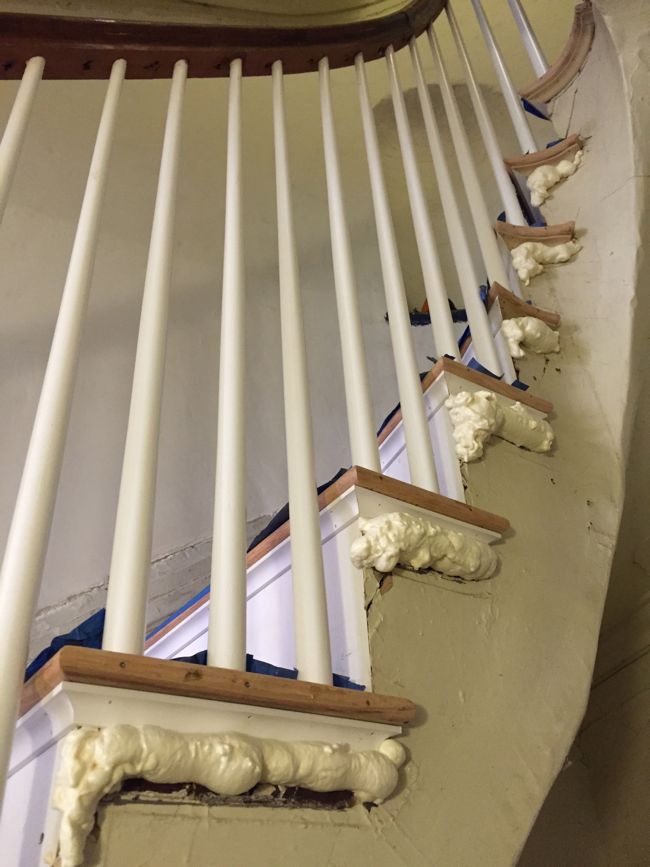
Spray foam expands quite a bit as it dries, so I was left with a lot of excess foam stuck to the sides of the stairs. I used an oscillating saw to trim the excess foam, leaving the remaining foam flush with the side of the staircase.

Now that the gaps were filled with foam and flush with the surrounding woodwork, I covered over the whole mess with a coat of joint compound to smooth everything out and hide the patched areas.
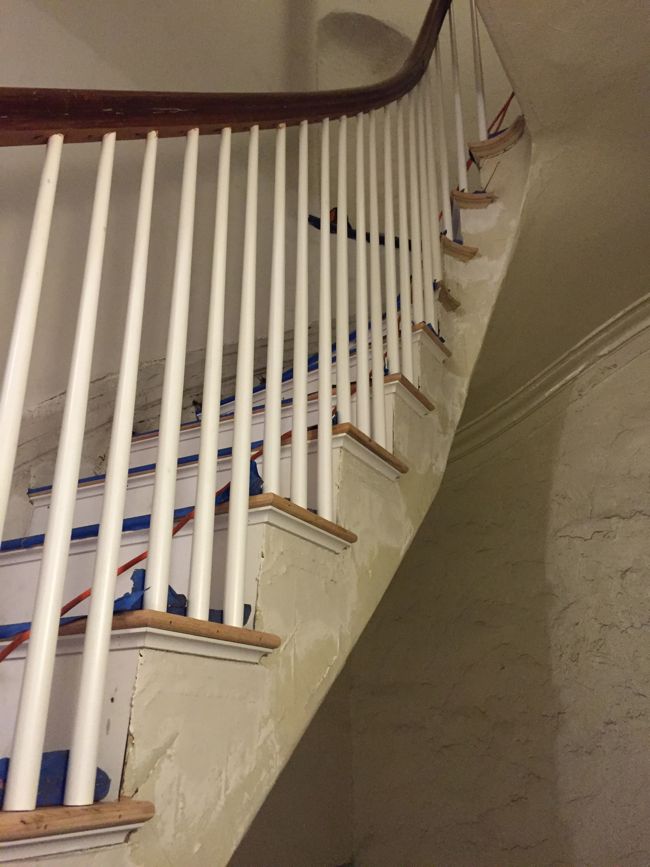
After another coat of joint compound, some sanding, priming, and painting, no one will ever know that the edges of the new treads are two or three inches higher than the original treads. The entire process took me an hour or two, much faster than the time it would have taken to patch in the gaps with thin pieces of wood to match the surrounding trim.
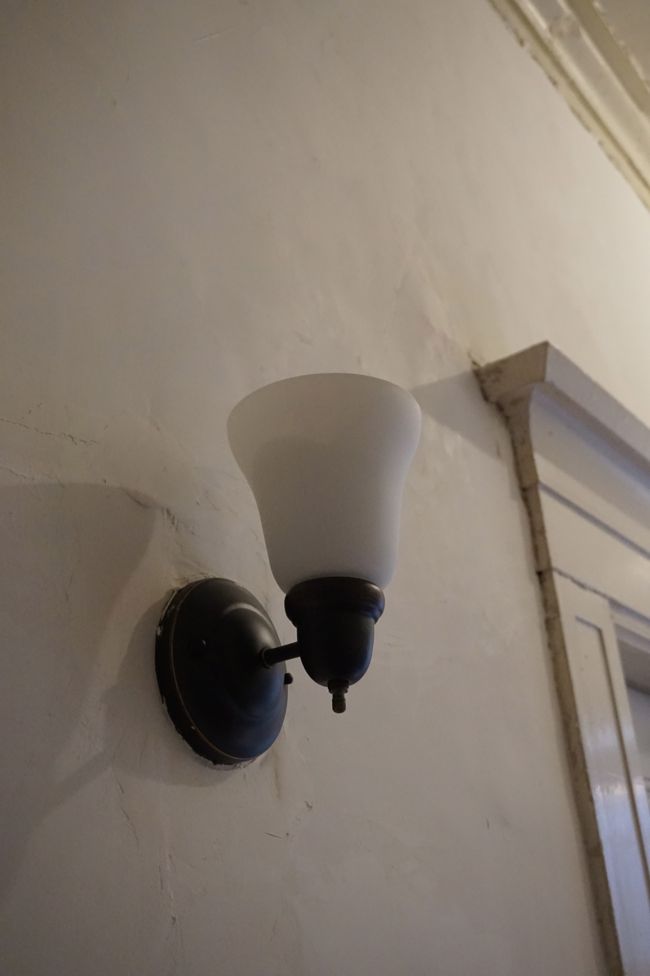
This past weekend, after putting the final coat of joint compound on the wall, I decided to replace the wall sconces in the stairwell. The existing sconces weren’t anything special – they were really just glass cylinders mounted on a steel back plate – and they didn’t fit with the rest of the stairwell’s mid-19th century look. I’d guess the sconces were installed around the same time that the textured plaster treatment was added to the walls, probably in the 50s or 60s.
I picked up a pair of new sconces at Home Depot. They’re not showstoppers, but they’ll get the job done. And at $17 apiece, the price was right. Installation was pretty straightforward once I found the circuit breaker in the cellar that controls the stairwell lights.
Next up, skim coating the ceiling! Then I’ll go back and sand and touch up the walls and ceilings. And then it’s on to some actual finishing details like staining and sealing the stair treads and painting everything else.
It’s looking better and better each time you post. The wall lamps look good too! What a monumental job.